
For most homeowners who want a true floor to ceiling closet without guesswork or wasted space, a custom built-in is the right call; renters and strict budget-watchers do better with a modular kit or freestanding system. Custom work typically runs from around $3,000 for a full custom closet, with DIY kits starting well under $1,000. A kit install takes a weekend, and a custom system, like the ones Classy Closets builds and installs, typically takes two to six weeks from design sign-off to finished trim.
TL;DR:
- Custom built-in systems offer the best fit and gap-free finish for homeowners willing to invest at least $3,000, while modular kits can reduce costs but may show seams.
- Proper measurement involves checking three points across the width for height and ensuring level, plumb walls to avoid fit issues that complicate installation.
- A full floor to ceiling closet typically costs between $700 and $3,000, depending on the complexity, materials, and whether it is a DIY kit or a custom design.
- A professional installation with local manufacturing and a 10-year workmanship warranty ensures a seamless fit and long-lasting finish, reducing the risk of sagging or uneven gaps.
- Key features that maximize vertical space include double-hang rods, pull-out shoe towers, concealed drawers, and integrated lighting, which improve usability without increasing budget.
Table of Contents
- What Counts as a Floor to Ceiling Closet System?
- Materials and Hardware That Actually Matter
- How Do You Measure and Plan a Tall Closet Layout?
- How Much Does a Floor to Ceiling Closet Cost?
- Should You DIY Your Closet or Hire a Pro?
- What Happens During Installation, Start to Finish?
- Design Ideas That Make the Most of Vertical Space
- Why Fit and Warranty Matter More Than the Finish You Pick
- What’s the Full Timeline From First Idea to Finished Closet?
- How Do You Evaluate a Closet Provider Before You Sign?
- The One Priority That Beats Every Trend
- Get a Free 3D Design and an Itemized Quote
- Sources
- FAQ
What Counts as a Floor to Ceiling Closet System?
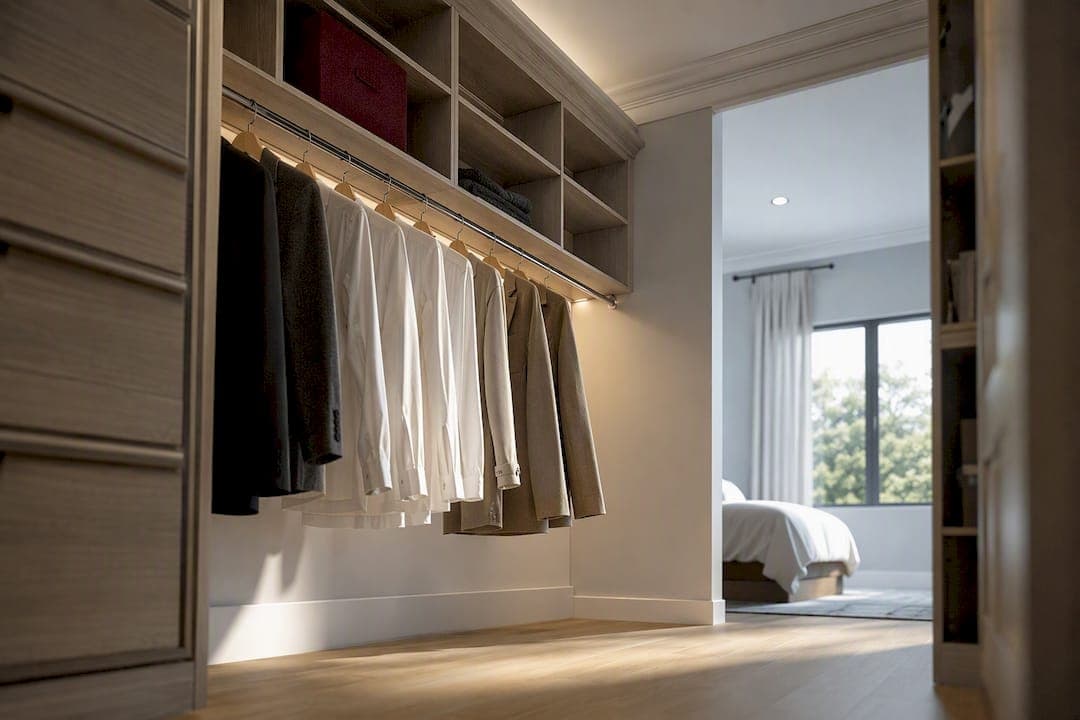
A floor to ceiling closet is any storage system, built-in, modular, or freestanding, that runs the full vertical distance from the floor to the ceiling instead of stopping short and leaving dead air above. That top zone is exactly what most reach-in and walk-in closets waste. Industry pros sometimes call this a “full-height” or “zero-gap” build, and that second term matters: the appeal of a true floor to ceiling closet comes from the scribe-fitted, gapless finish against the ceiling and walls, not just the extra shelf up top.
You’ll see three real paths to get there, and each one solves a different problem.
- Custom built-in systems. Designed to your exact wall dimensions, scribed tight to the ceiling and floor, and typically installed by a company’s own crew. Best fit for homeowners staying put for years who want a finished, gap-free look.
- Freestanding and modular kits. Pre-cut components, often solid wood or melamine, that you assemble and stack to your ceiling height. John Louis Home’s cut-to-fit modular systems are a good example of how close a careful DIY install can get to a custom look.
- Ceiling-mounted rod and door hacks. The cheapest route, favored on DIY forums, where homeowners hang a rod from the ceiling and box it in with a simple door rather than building full cabinetry, as detailed in one widely shared DIY thread.
Renters lean toward freestanding pieces they can take with them; a quick scan of floor to ceiling wardrobe listings on Amazon shows how deep that freestanding and telescopic market already is. Upscale remodels lean custom, because laminate-finish freestanding units rarely match painted trim or built-in millwork. Modular kits sit in between: solid wood finishes upgrade the look, but the seams between stacked units are still visible in a way a scribed custom build isn’t.
Materials and Hardware That Actually Matter
The material you choose affects both how long the closet lasts and how much weight it can hold without sagging. Melamine and laminate-covered particleboard are the industry standard for a reason: they’re affordable, resist moisture better than raw MDF, and come in dozens of finish colors. Plywood costs more but holds screws and hardware far better over time, which matters most on long shelf spans. Solid wood, the material behind John Louis Home’s cut-to-fit organizer line, gives you the most premium look and the easiest on-site trimming, at the highest price point.
Door choice changes both the budget and the daily experience:
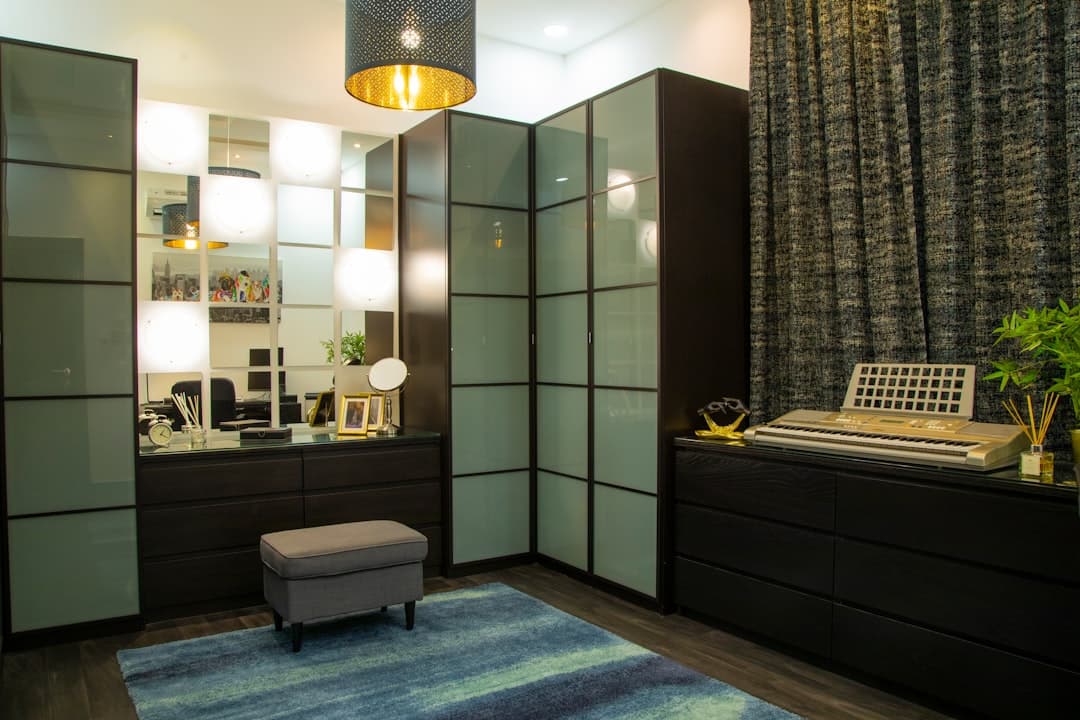
- Mirrored sliding doors save floor clearance and visually double a small room, a combination commonly seen in Pinterest’s floor to ceiling closet inspiration boards.
- Shaker or slab doors swing out fully, giving better access but requiring floor space to open.
- Handleless, soft-close hardware is what separates a mid-range build from a high-end one; bespoke full-wall wardrobe systems lean heavily on concealed hinges and hidden hardware to get that clean, gapless look.
The real trick to a floor to ceiling finish is scribe trim, a thin strip of matching material cut and shaved to fill the irregular gap between a straight cabinet edge and an uneven ceiling or wall. Skip it and you’ll see daylight along the top edge no matter how precisely you measured.
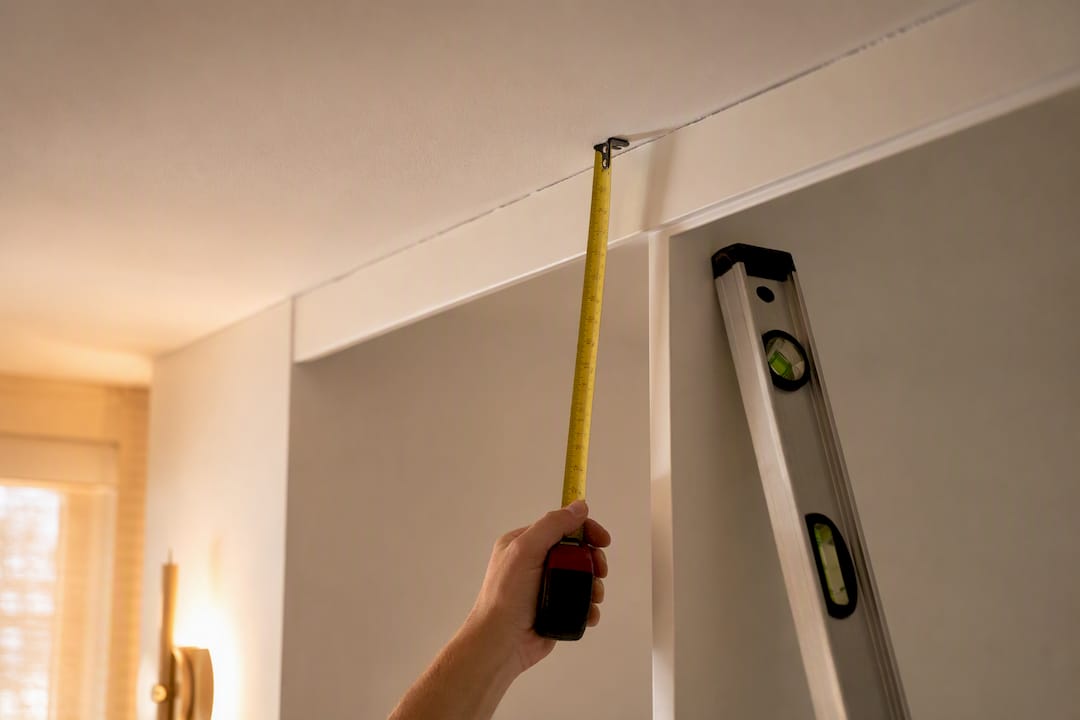
Pro Tip: Never trust a single ceiling height measurement. Check it in three spots across the width of the closet. Most homes settle unevenly, and a half-inch difference from one side to the other will throw off a rigid modular kit that isn’t designed to be scribed on site.
How Do You Measure and Plan a Tall Closet Layout?
Get the numbers wrong here and everything downstream, doors, shelving, even hanging clothes, ends up off. Work through this sequence before you order anything:
- Measure floor to ceiling at three points (left, center, right) and use the shortest number as your build height.
- Check for plumb and level on every wall with a 4-foot level; closets in older homes are rarely square.
- Note obstructions like outlets, HVAC vents, baseboard heaters, or door swing clearance that will eat into your depth.
- Set your depths by function: 24 inches for double-hang rods, 16 inches for single hang, and 12 to 14 inches for shelving and folded storage, a range consistent with John Louis Home’s standard configuration guidance.
- Map your reach zones: waist to shoulder height (roughly 30 to 60 inches off the floor) is your prime real estate for daily items; anything above 72 inches should hold things you grab a few times a year.
- Leave clearance above rods, about 40 to 42 inches of hanging space for shirts and pants folded over a hanger, so nothing drags on the shelf below.
Getting the reach zones right is the difference between a closet that looks good in photos and one you actually enjoy using every morning. A gorgeous floor to ceiling wall of shelving is wasted if your everyday shoes end up on a shelf you need a step stool to reach.
How Much Does a Floor to Ceiling Closet Cost?
Price swings widely depending on which of the three build paths you choose, and the gap between the cheapest and most expensive option is bigger than most homeowners expect.
- DIY ceiling-mounted rod or basic kit: often under $500 in materials, using a ceiling-mounted rod, a simple door, and paint, the approach favored in DIY forum discussions.
- Modular or prefab kit system: typically several hundred to a couple thousand dollars depending on size and material grade, assembled yourself over a weekend.
- Professionally designed custom system: Classy Closets’ reach-in systems start from $700, while a fully custom closet build starts from $3,000, and a larger walk-in closet design starts from $3,000 as well, scaling up with size and finish level.
A handful of factors drive the price inside each of those bands. Linear footage matters most: you’re generally paying by the running foot of cabinetry, and some vendor pricing structures explicitly quote per linear foot for exactly that reason. Door style adds cost fast, mirrored sliders and soft-close hardware cost noticeably more than basic melamine slab doors. Integrated lighting, drawer boxes instead of open shelving, and complex scribe work around uneven walls all push the number up. Site prep, patching drywall, moving an outlet, adjusting a vent, adds cost before the closet itself even goes in.
Whichever route you pick, request an itemized quote before you sign anything. A proper one breaks out materials, labor, trim and scribe work, hardware, and warranty coverage as separate line items, not a single bundled number. That’s the only way to compare a kit quote against a custom bid on equal footing.
Should You DIY Your Closet or Hire a Pro?
The honest answer depends on your tools, your walls, and how much variation you’re willing to tolerate in the final fit. Basic modular kits are genuinely doable for most homeowners with a level, a drill, and a Saturday free. Custom scribe work against an uneven ceiling is a different skill level entirely.
Before committing to DIY, be honest about whether you have:
- A drill/driver, level, stud finder, and a miter or track saw for trim work.
- Comfort cutting and fitting scribe strips to an uneven wall or ceiling line.
- The patience to shim and re-check level every few feet across a long run.
- A plan for fastening shelving directly into studs, not just drywall anchors, especially for double-hang loads.
The three most common DIY failures are an uneven scribe gap at the ceiling, shelves that sag under sweater or shoe weight because they weren’t fastened into studs, and doors that bind because the cabinet frame wasn’t checked for square before installation. The first two are fixable after the fact. A structurally undersized shelf that’s already sagging usually isn’t, it needs to come out and be rebuilt with proper support.
Pro Tip: If your ceiling is off by more than three-quarters of an inch across the width of the closet, skip the rigid prefab kit. It won’t scribe cleanly, and you’ll fight that gap for the life of the closet.
Hiring a pro makes the most sense when you want integrated lighting wired in cleanly, complex scribing against an out-of-square room, or a guaranteed fit backed by a workmanship warranty instead of your own trial and error.
What Happens During Installation, Start to Finish?
Every floor to ceiling closet project, DIY or professional, follows roughly the same sequence. Knowing the steps ahead of time keeps you from getting blindsided by a delay you could have planned around.
- Measure and design. For a custom job this includes a 3D design walkthrough; for a kit, it’s your own careful measuring against the manufacturer’s spec sheet.
- Sign off on the design. Confirm dimensions, door style, shelf configuration, and finish before anything gets cut.
- Manufacture or prep materials. Custom cabinetry is built to your exact measurements off site; kits ship pre-cut.
- Prep the space. Clear the closet completely, patch any drywall issues, and confirm outlets or vents are accessible.
- Install. Kits usually take one to three days for an experienced DIYer; custom installs typically run two to six weeks from design sign-off to finished install, depending on manufacturing backlog.
- Trim, scribe, and clean up. This final step is what actually delivers the seamless floor to ceiling look.
Before install day, confirm three things with any installer: the exact scope of work, what’s covered under warranty, and whether there’s a punch list process for fixing any small issues after the crew leaves.
Design Ideas That Make the Most of Vertical Space
The features that make a floor to ceiling closet feel dramatically more useful than a standard one are almost always the same handful, and none of them require doubling your budget.
- Double-hang rods roughly double your hanging capacity in the same footprint by splitting the space into an upper and lower rod.
- Pull-out shoe towers and vertical dividers turn awkward corner space into organized, visible storage instead of a shoe pile.
- Concealed drawers hide folded clothes and accessories behind a clean door front rather than open cubbies.
- Integrated LED lighting and mirrored panels are two of the most frequently requested upgrades across product listings and forum discussions, and they do double duty: light makes a closet easier to use, and mirrors make it feel larger.
If a full rebuild isn’t in the budget yet, you can fake the floor to ceiling look with paint and trim alone: painting the closet interior and any exposed wall the same color as the ceiling trim, then running simple shelving all the way up, creates visual continuity even with basic materials. Several home renovation creators have shown this exact approach turning a plain closet into a finished-looking built-in using little more than paint, trim, and continuous shelving.
Once the upper shelves are in reach of a step stool rather than your everyday routine, label your bins. Seasonal items, out-of-rotation shoes, and luggage belong up top, sorted into bins you can identify without pulling each one down to check.
Why Fit and Warranty Matter More Than the Finish You Pick
A beautiful finish means nothing if the cabinet doesn’t sit flush against your ceiling or the drawers stop sliding smoothly after six months. That’s the practical case for working with a company that designs, manufactures, and installs under one roof rather than juggling a separate designer, fabricator, and installation crew.
Classy Closets specializes in custom closet organizers designed in 3D and manufactured locally in San Diego, with transparent, itemized pricing and its own installation crew rather than subcontractors. That combination matters because it removes the finger-pointing that happens when a design flaw and an installation error come from two different companies.
The company backs every project with a 10-year workmanship warranty, offers free consultations with 3D design, and engineers each system to the exact dimensions of your space rather than forcing your closet to fit a standard module size. That precision is what solves the disorganized-closet problem for homeowners across San Diego County while actually looking finished.
When you sit down for a consultation, whether with Classy Closets or another provider, ask for these specifics up front:
- A full 3D rendering of the proposed layout, not just a sketch.
- An itemized quote broken out by material, labor, hardware, and trim.
- Written warranty terms and what voids them.
- A firm install date range and what happens if manufacturing runs behind schedule.
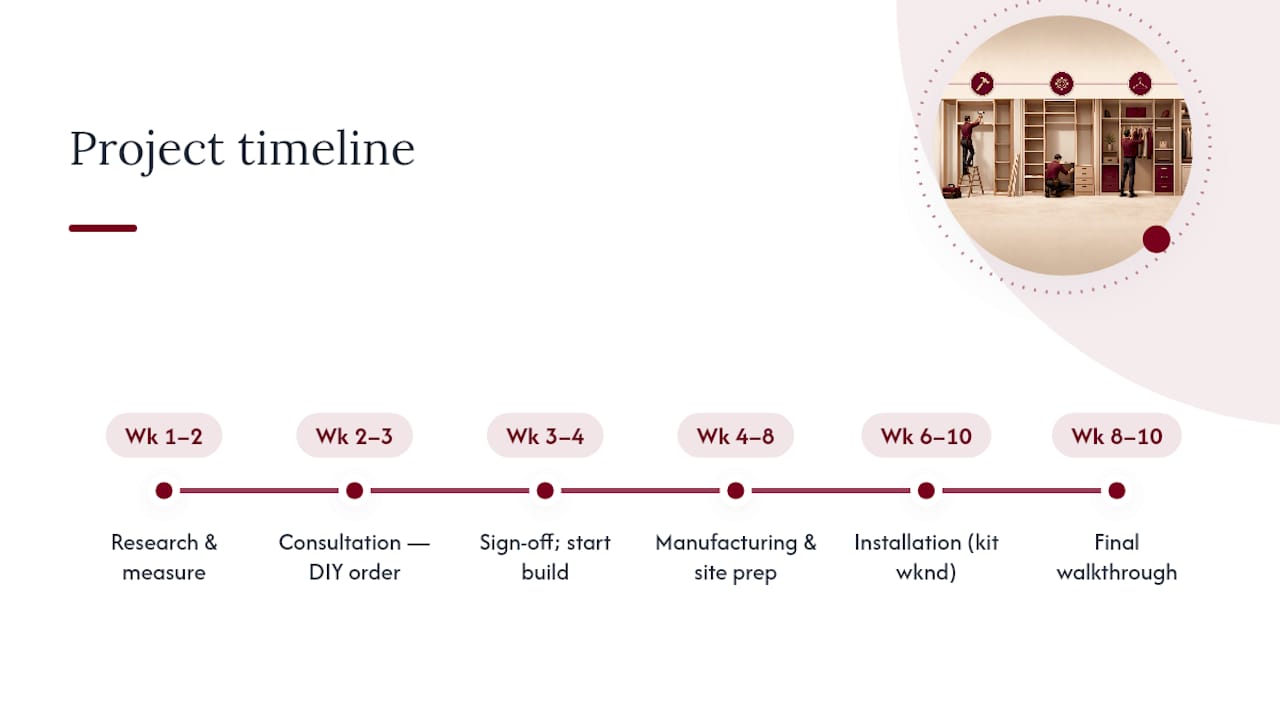
What’s the Full Timeline From First Idea to Finished Closet?
A realistic timeline keeps expectations in check, because the biggest source of frustration on closet projects is assuming it’ll all happen faster than it actually does.
Week 1 to 2: Research and measure. Browse inspiration, decide on a design approach, and take your own rough measurements so you walk into any consultation with real numbers, not guesses.
Week 2 to 3: Consultation and design. For a custom project, this is when a designer visits your home, takes exact measurements, and builds a 3D layout for your approval. For a DIY kit, this is when you finalize your parts list and place the order.
Week 3 to 4: Sign-off and manufacturing begins. Once you approve a custom design, the components go into local production. Kit buyers are often already installing by this point.
Week 4 to 8: Manufacturing and site prep. Custom cabinetry production typically takes several weeks depending on order volume and complexity. This is a good window to handle any drywall repairs, paint touch ups, or electrical work the new closet will need.
Week 6 to 10: Installation. A kit install is usually a weekend. A custom install crew typically completes a standard closet in a single day; larger walk-in projects take two to three days.
Final walkthrough. Check every drawer, door, and shelf before the crew leaves, and confirm your warranty paperwork is in hand.
Budget eight to ten weeks total for a custom project from first phone call to finished install, and one to two weekends for a DIY kit from order to done.
How Do You Evaluate a Closet Provider Before You Sign?
Not every company that sells “custom closets” actually manufactures them, and that distinction affects both price and accountability if something goes wrong.
Ask these questions before signing a contract:
- Who actually installs the project? A company using its own trained crew, rather than rotating subcontractors, tends to deliver more consistent fit and finish because the same team that measured your space is the one cutting the scribe trim.
- Is pricing itemized or bundled? A single lump-sum number with no breakdown makes it impossible to know if you’re overpaying for materials, labor, or markup.
- Where is the product manufactured? Locally manufactured cabinetry, like Classy Closets’ San Diego production, generally means faster turnaround and easier resolution if a piece needs remaking.
- What’s covered under warranty, and for how long? A workmanship warranty that runs a decade signals a company expects its installs to last, not just survive the first year.
Red flags worth walking away from include a company that won’t provide a written itemized quote, refuses to give a warranty in writing, or can’t tell you whether your project is built locally or shipped from an unknown third-party shop. Vague answers to direct questions about who’s doing the actual cutting and installing are the clearest warning sign of all.
The One Priority That Beats Every Trend
Trends come and go, mirrored panels one year, matte black hardware the next, but fit and warranty coverage are what determine whether you’re happy with a closet five years from now. I’d rather see a homeowner choose plain melamine with a rock-solid scribe fit and a real warranty than a trendy finish installed by whoever was cheapest that week. Function has to come first, with finish layered on top once the bones are right.
Pick the method that actually matches your skill level, your budget, and how long you plan to live in the house. A rental-friendly freestanding rack, a weekend modular kit, and a fully custom built-in all solve the same storage problem. They just solve it for very different people.
— Gary Pavitt
Get a Free 3D Design and an Itemized Quote
Some companies offer free in-home 3D design consultations, transparent itemized pricing, local manufacturing, and installation by their own trained crew, often backed by a workmanship warranty.
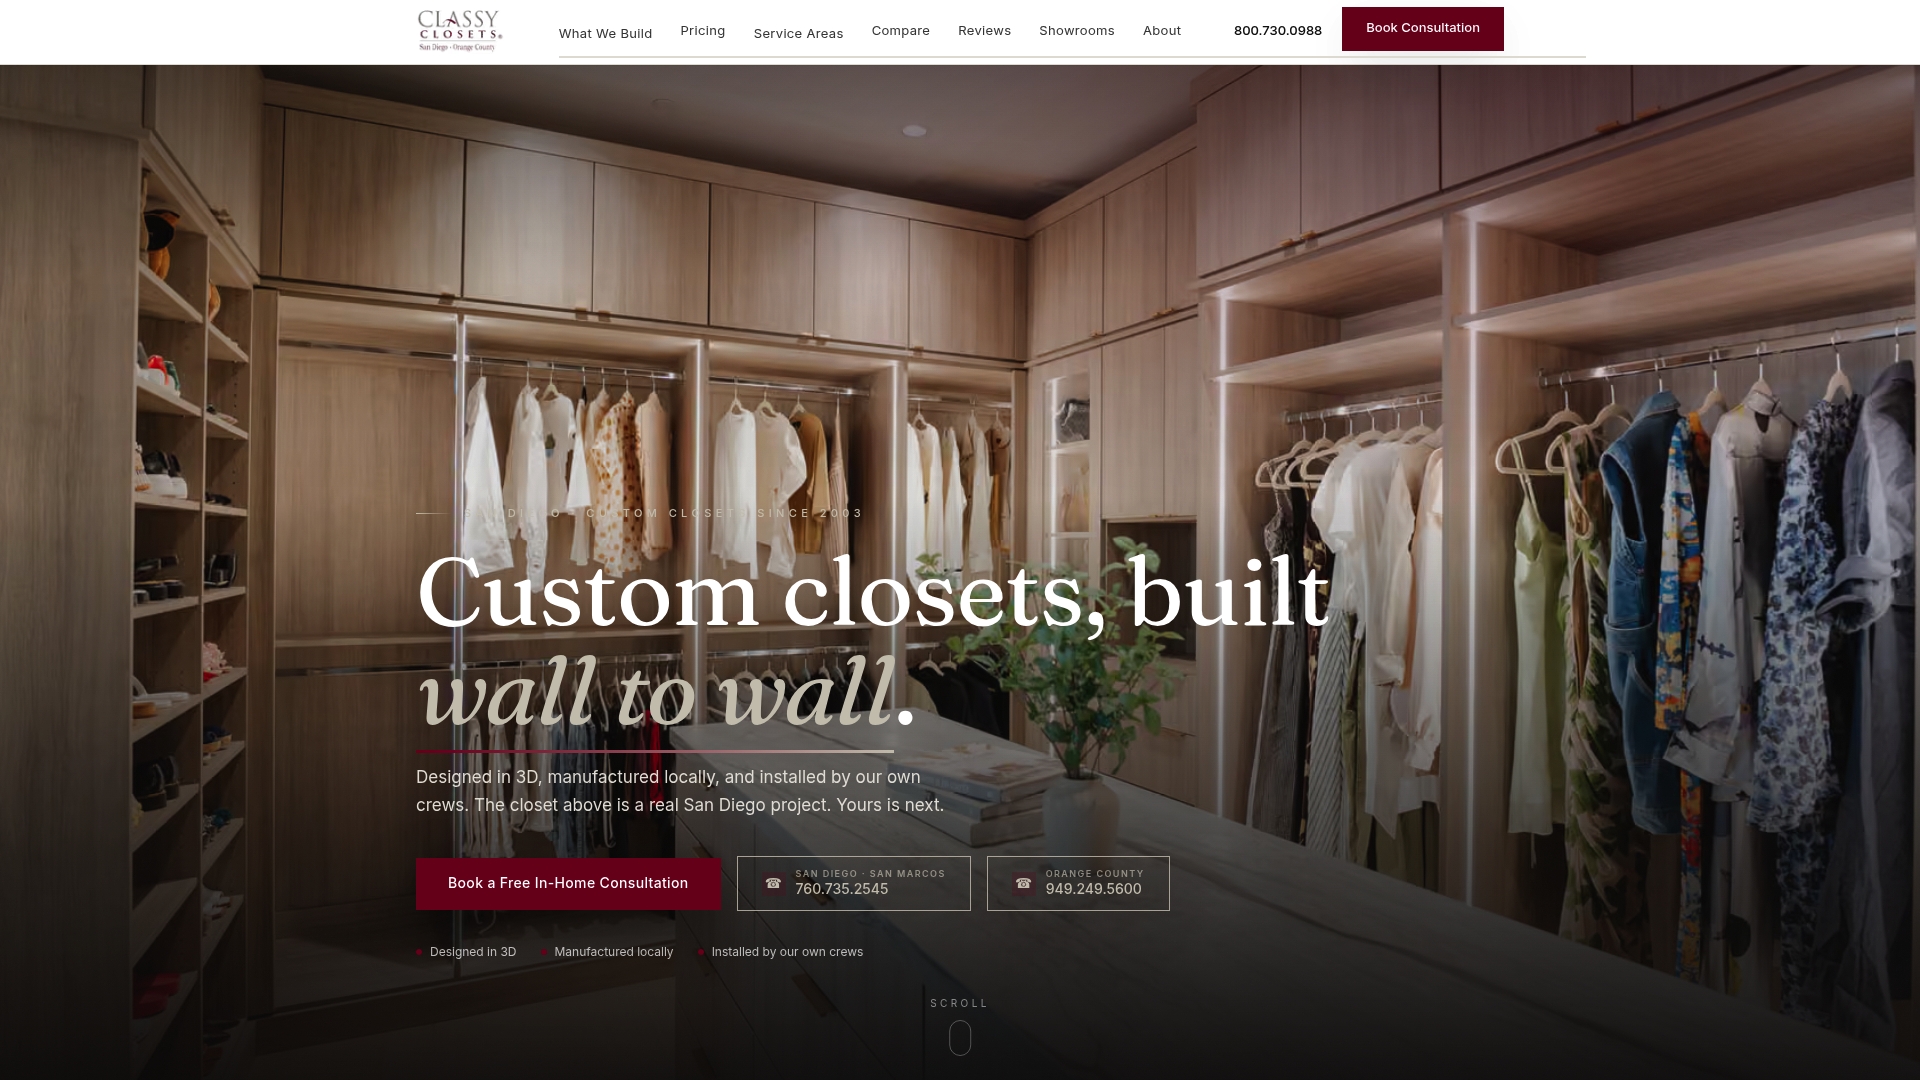
If you’ve read this far and know a custom built-in is the right call for your space, the next step is simple. Get a free 3D design consultation and walk away with a real, itemized quote instead of a ballpark guess. Planning something bigger than a single reach-in? Start with a walk-in closet design consultation instead, and see exactly what a floor to ceiling system built for your walls, not a generic module, actually costs.
Sources
FAQ
How Much Do Floor to Ceiling Wardrobes Cost?
Costs range from under $500 for a basic DIY rod-and-door setup to several thousand dollars for a fully custom build. Classy Closets’ reach-in systems start from $700, while a full custom closet build starts from $3,000 depending on size, doors, and finish.
Is It Cheaper to Build or Buy a Closet System?
Building your own with a modular kit or ceiling-mounted rod setup is almost always cheaper upfront than a custom build. The tradeoff is fit: a DIY kit rarely achieves the true gap-free, scribed finish that a custom system provides against an uneven ceiling or wall.
Is It Legal to Turn a Closet Into a Bedroom?
Most U.S. building codes require a bedroom to have a minimum floor area, an egress window or door, and a closet is generally not counted as usable bedroom square footage on its own. Rules vary by city and county, so check with your local building department before converting any closet space into a legal bedroom.
What Are the Latest Closet Trends?
Mirrored sliding doors, integrated LED lighting, and handleless soft-close hardware are among the most requested features right now, based on current product listings and design forums. Double-hang rods and pull-out shoe towers remain popular because they add real capacity without adding square footage.
What Should I Ask for in a Closet Consultation?
Request a 3D design rendering, a fully itemized quote broken down by material, labor, and hardware, and written warranty terms before signing anything. Many custom closet providers include these elements as part of their consultation process for projects.