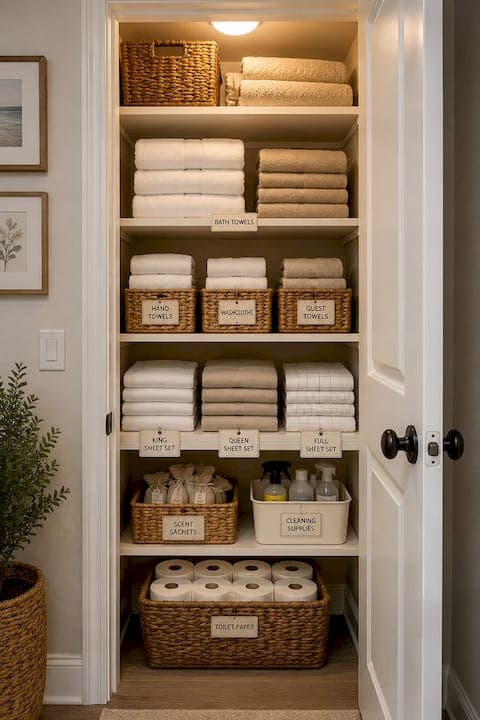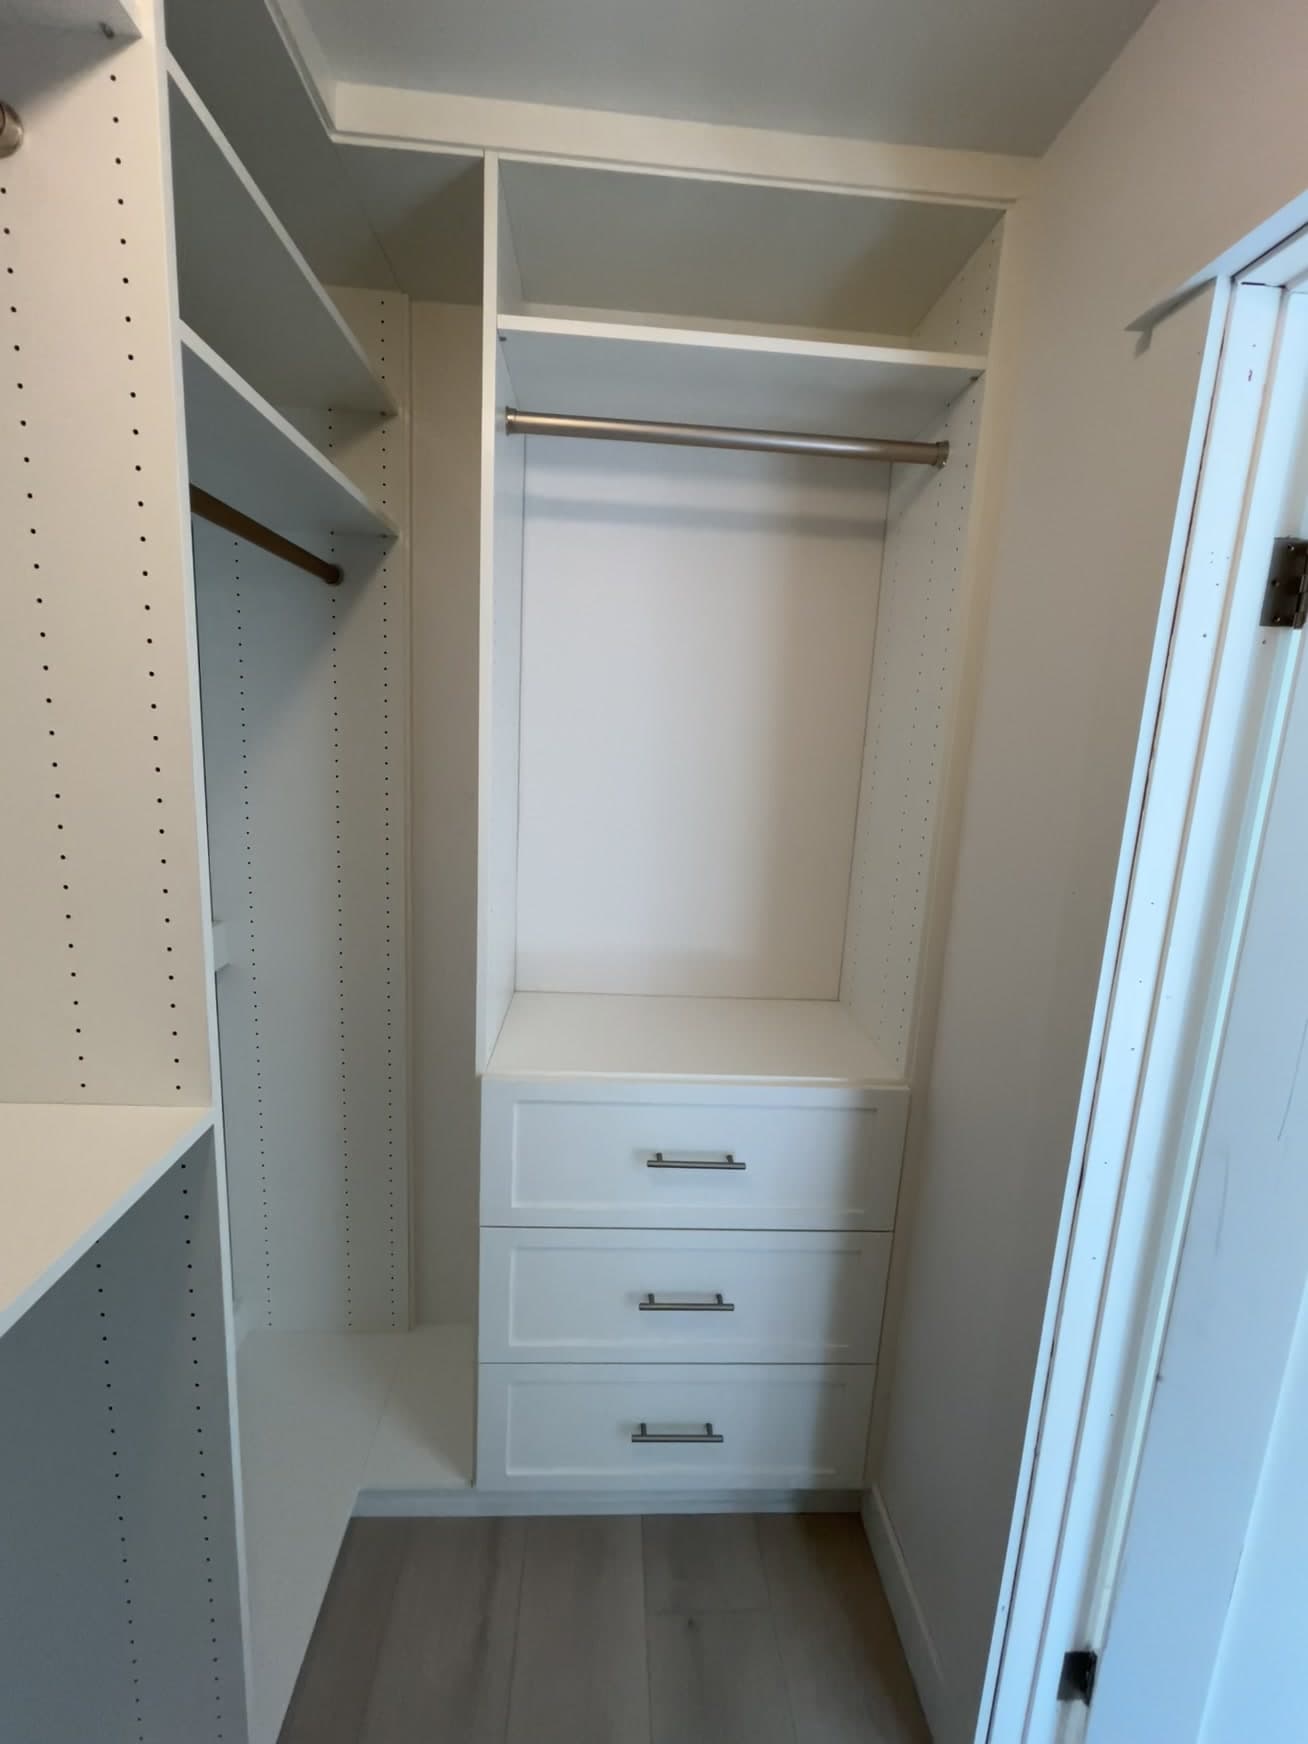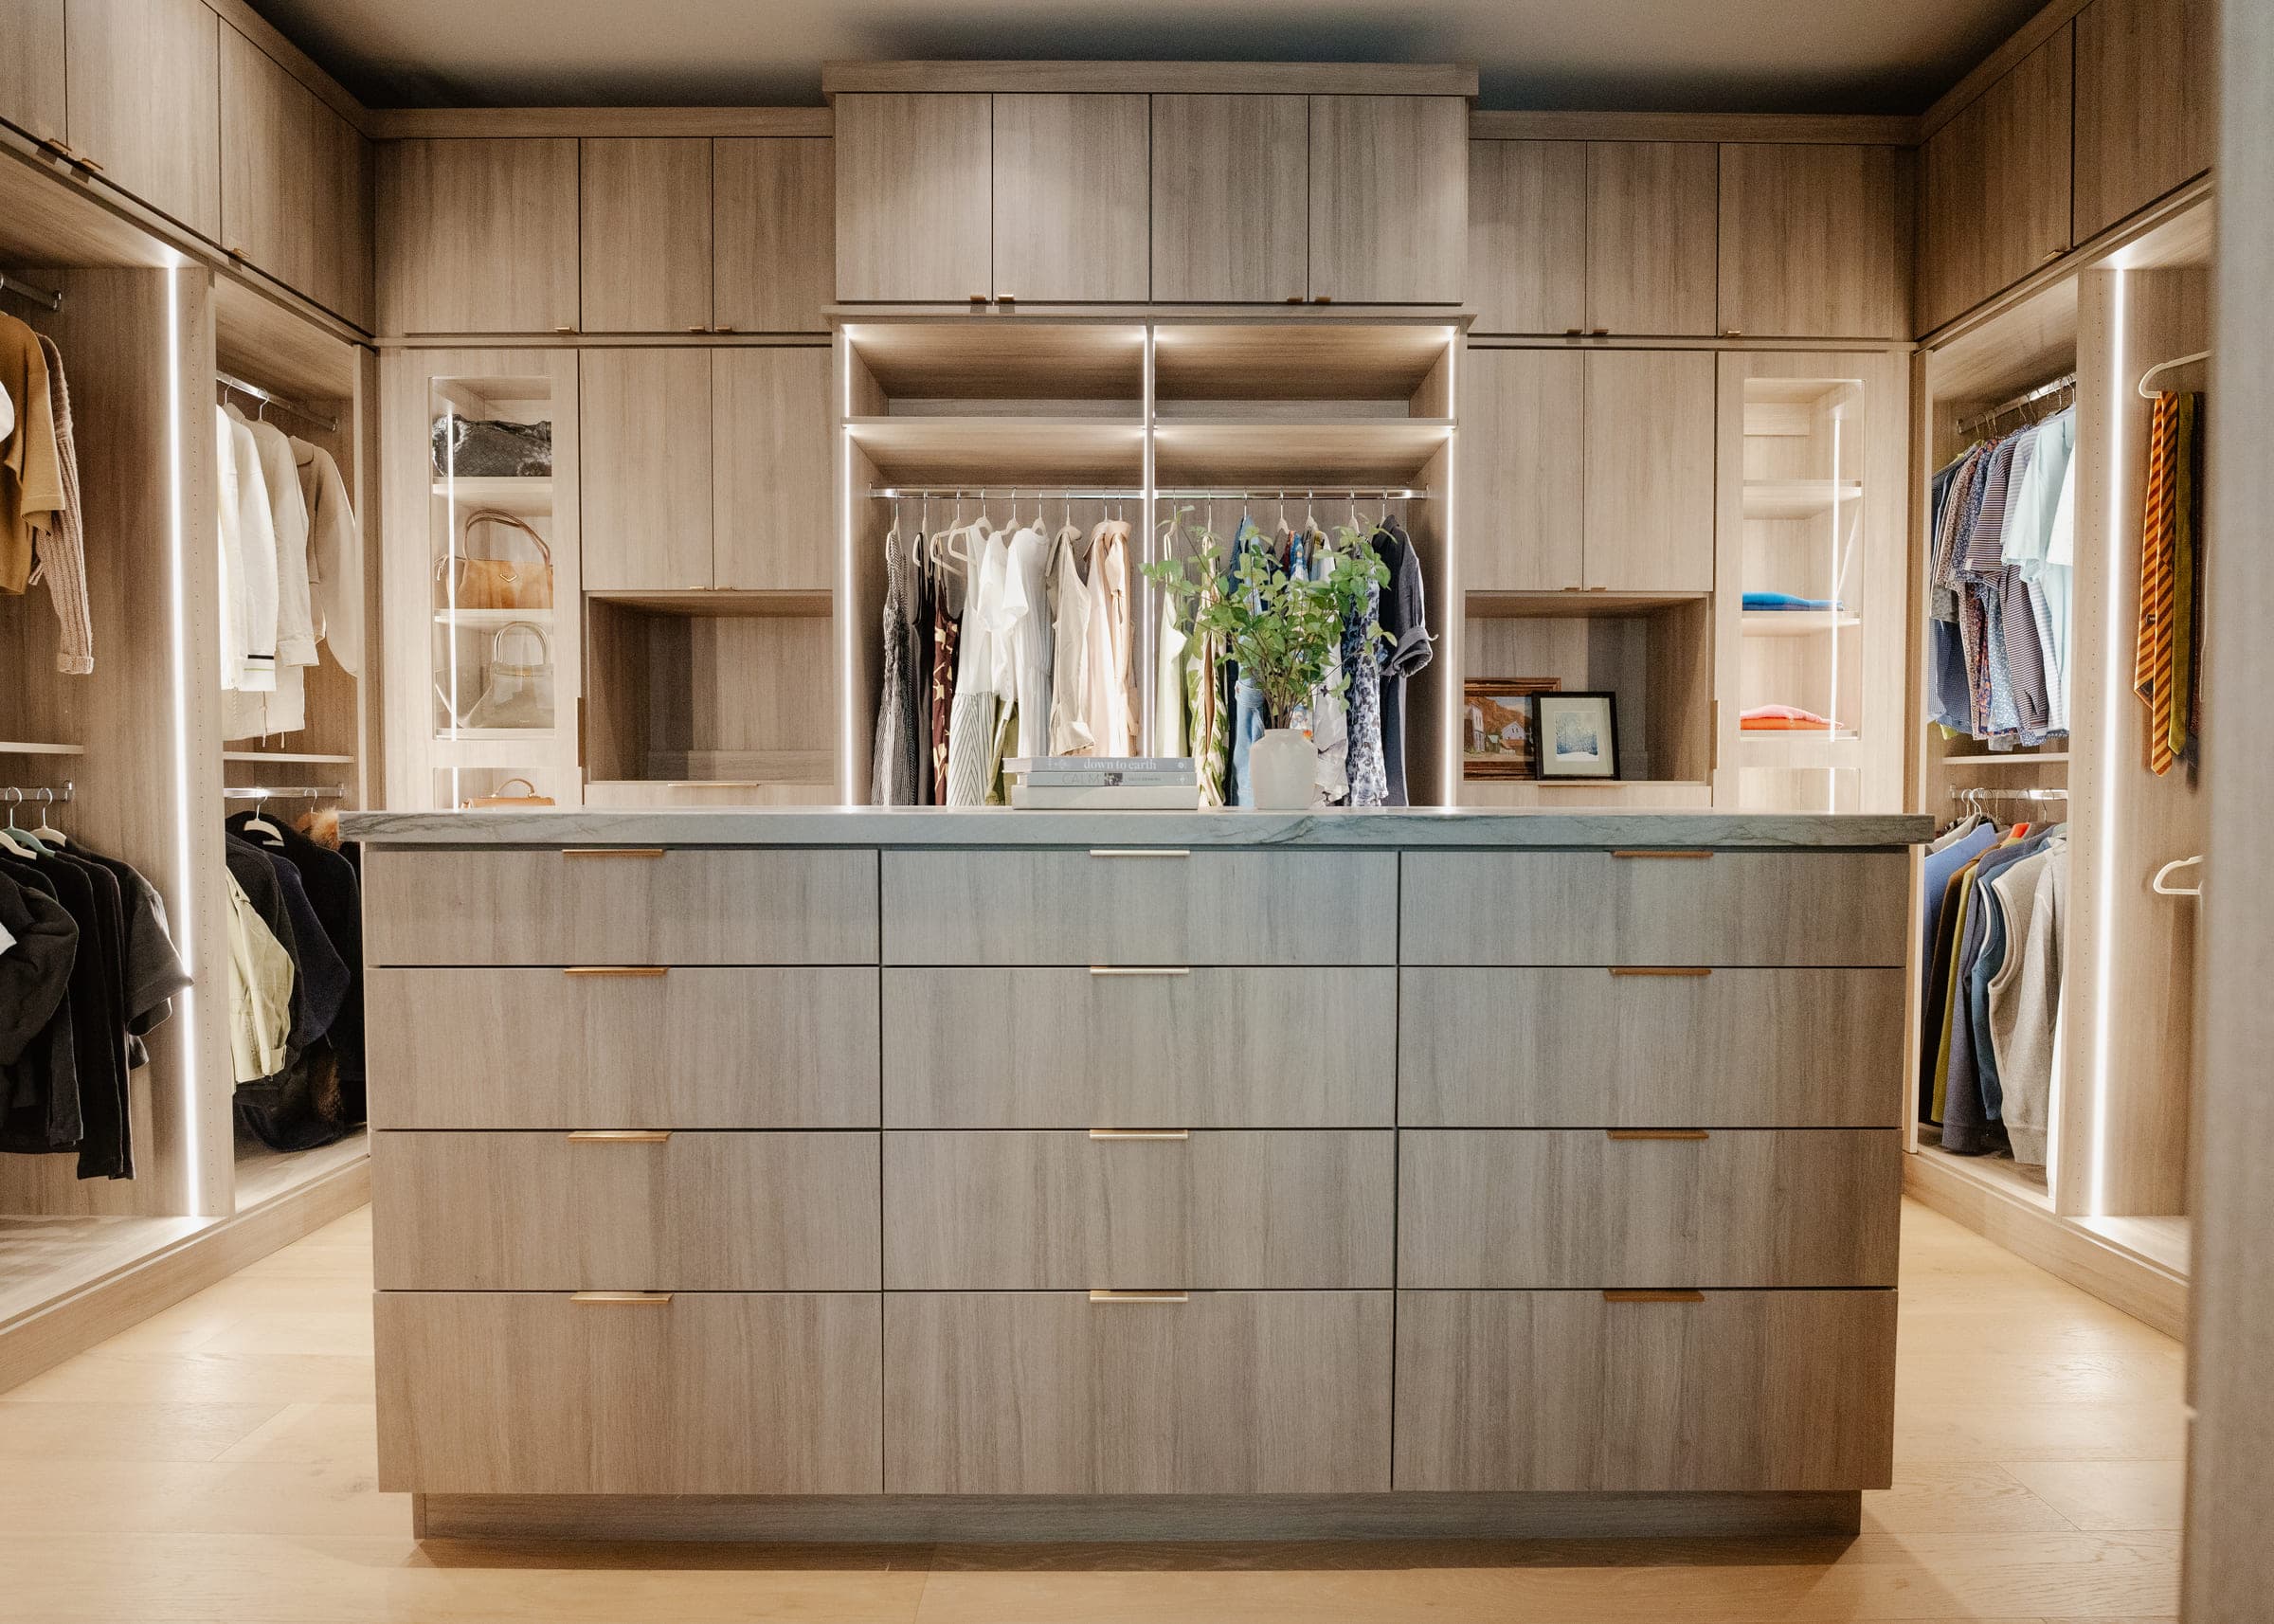


The fastest reliable fix for a messy hall closet is to empty it completely, decide on one job for the space (coats, linens, or utility gear), then install the minimum hardware that job actually requires. Most homeowners can pull this off in an afternoon. Budget under $200 for a DIY refresh, $250 to $600 for a modular system, or $2,500 and up if you’re moving to a fully custom built-in.
TL;DR:
- Most hall closets can be fully reorganized and optimized with a simple, inexpensive DIY overhaul within an afternoon by clearing out 40 to 60 percent of the contents.
- Deciding on a single primary function, such as coats or linens, helps prevent clutter from reaccumulating and guides hardware choices.
- Accurate measurements of the space and careful zoning by item frequency are essential to selecting the right shelving, rods, and hardware for optimal use.
- Using clear, labeled bins and door-mounted storage maximizes space and keeps frequently used items accessible at eye level.
- Regular twice-yearly rotations and quarter-year resets are critical maintenance routines to sustain a tidy, functional hall closet.
Table of Contents
- Fast Checklist: Five Things to Do Right Now
- How To Audit What’s Actually In There
- Measurements And Layout Templates That Actually Fit
- The Right Bins, Racks, And Accessories For Each Item
- Small-Space Hacks Worth Trying First
- Keeping It Organized: A Maintenance Routine That Sticks
- When A Weekend Project Isn’t Enough
- Ready For A Built-In That Never Needs Rebinning?
- Sources
- FAQ
Fast Checklist: Five Things to Do Right Now
If you only have an hour this weekend, work through these in order:
- Empty everything onto the floor and sort into keep, donate, relocate, and trash piles.
- Measure depth, width, and height at multiple points, plus how far the door swings open.
- Pick one job for this closet: coats, linens, or utility storage, not all three fighting for space.
- Add basic hardware: hooks, slim hangers, a shoe shelf, and a battery-powered motion LED light, which runs $18 to $35 and instantly makes a dark closet usable.
- Label your bins and put a reminder on your calendar for a twice-yearly rotation.
That last step is the one most people skip, and it’s the reason closets go right back to chaos within a few months.
How To Audit What’s Actually In There
Start by taking everything out, no exceptions. You cannot organize around guesswork, and half the junk in a hall closet has been sitting there so long you forgot it existed.
- Sort into four piles: keep, donate, relocate (does this even belong in a hall closet?), and trash. Expect to remove 40 to 60 percent of what comes out. That’s not a typo. Most hall closets are storage graveyards for things nobody uses.
- Decide the closet’s real job. Look at what you kept and how your household actually moves through the front door. If it’s mostly coats and bags, it’s an entryway closet. If it’s towels and sheets, it’s functionally a linen closet that happens to be near the hall. Trying to serve three functions in one small space is how the mess starts over.
- Assign three zones by height and frequency. Put daily items (coats, school bags, dog leashes) at arm level. Seasonal items (winter boots, holiday linens) go up top or on a high shelf. Guest or overflow items belong on the floor or in the back, since you’ll touch them rarely.
This zoning step is what actually determines which hardware you need next, not the other way around.
Measurements And Layout Templates That Actually Fit
Guessing at hardware placement is how people end up with a $150 shelving kit that doesn’t clear the door trim. Measure first, buy second.
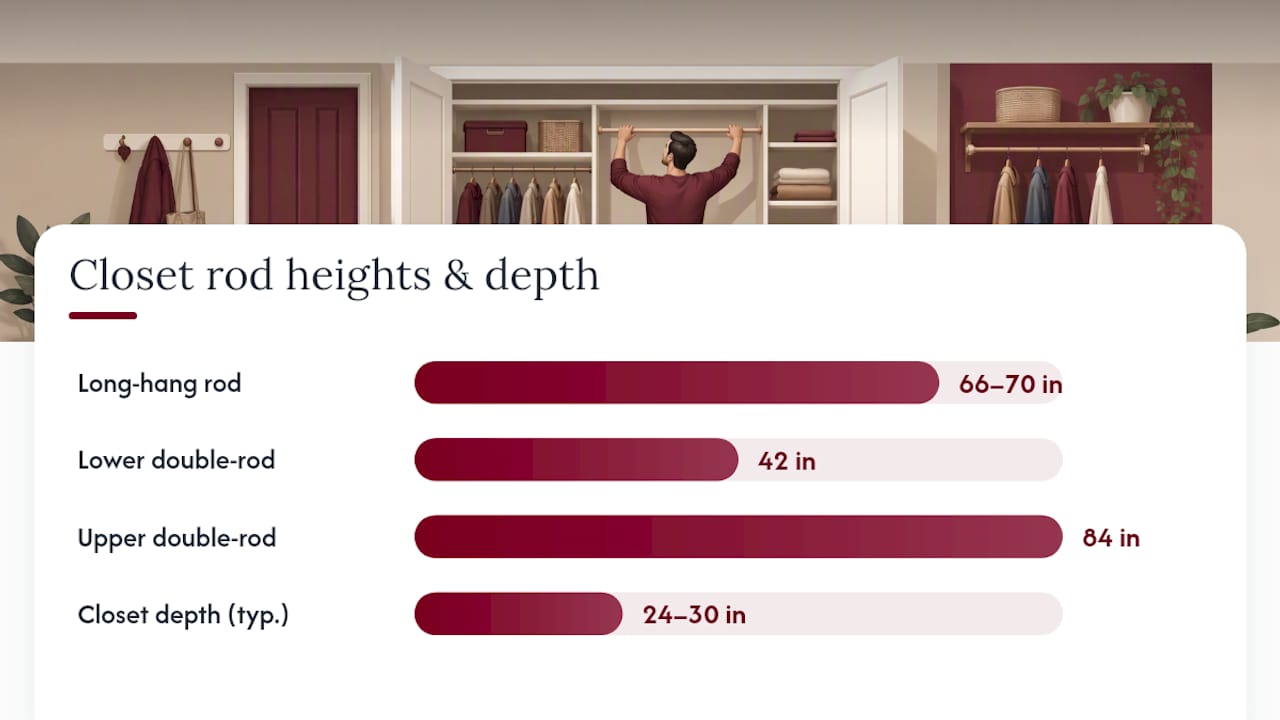
For hanging clothes, a single long-hang rod should sit around 66 to 70 inches from the floor to clear coats and dresses. If you’re doubling up rod space for shorter items like shirts and folded pants, plan for one rod near 42 inches and a second near 84 inches. That split alone can nearly double your hanging capacity in the same footprint.
Most hall closets run 24 to 30 inches deep. In that range:
- A center shelf tower with drawers works well when you want a mix of folded storage and hanging space on either side.
- Side-mounted wire or track shelving is the budget option and still holds up fine for linens or shoes.
- A hybrid setup, a laminate tower flanked by wire shelving, tends to give the best look for the least money, since you’re only paying premium material costs where it shows.
For the top shelf and floor, follow a simple rule: nothing you need daily goes on the floor, and nothing fragile or frequently used goes at the very top where you’ll need a step stool. Design pros specifically warn against stashing shoes at floor level where they get lost and forgotten. Keep them at eye level or on a slanted shelf instead.
Also measure your closet’s width at the top, middle, and bottom before ordering anything. Older homes settle, and walls are rarely perfectly plumb. Design to the smallest of your three measurements so a shelf or rod doesn’t jam halfway through installation.
The Right Bins, Racks, And Accessories For Each Item
Hardware choice depends entirely on what you’re storing, not on what looked good in a store display.
- Bins and baskets: clear front-facing bins work best for anything you need to identify at a glance, like gloves or dog supplies. Opaque bins with labels are better for less frequently accessed items where looks matter more than instant visibility. Pull-out baskets are the easiest option for anything you dig through often, like scarves or hats.
- Shoes: narrow closets do best with angled shelves that let you see the whole shoe rather than just the toe, slide-out baskets for kids’ shoes that never stay paired, or a simple boot tray for wet-weather footwear near the door.
- Door-mounted storage: the back of the door is free real estate most people ignore. A hook strip handles leashes and umbrellas, while a hanging pocket organizer is perfect for reusable grocery bags that otherwise end up crammed on the floor.
- Lighting: battery-powered motion LEDs mount with adhesive strips and need no wiring, a good retrofit option for renters. Hardwired fixtures cost more upfront but make sense if you’re already doing a full custom install.
Pro Tip: Match hardware to habits, not aesthetics. If nobody in your house hangs up coats, buy hooks. A beautiful rod system that gets ignored is worse than an ugly hook that gets used.
Small-Space Hacks Worth Trying First
Shallow, oddly shaped, or narrow hall closets don’t need a full remodel to work better. A few cheap fixes go a long way.
- Swap to slim hangers. Standard plastic hangers run about 0.75 inches thick, while slim velvet hangers measure closer to 0.2 inches. That difference lets you fit noticeably more coats on the same rod without touching the closet itself.
- If depth is under 22 inches, skip a standard rod entirely. Try an angled rod mounted diagonally, a row of hooks paired with a single shelf, or convert the whole space into a cubby-and-bin system instead of forcing hangers into a space that can’t fit them.
- Out-of-plumb walls or sloped floors are common in older houses. A carpenter’s shim under shelf brackets, or scribing a shelf edge to match an uneven wall, solves this without costly demo work.
- Reconsider your door. If a swinging door eats up hallway space or blocks full access, switching to a bi-fold or sliding door style is worth the cost when you’re already investing in a custom build.
Keeping It Organized: A Maintenance Routine That Sticks
Organizing a closet once is easy. Keeping it that way is the actual challenge, and it comes down to habits more than hardware.
- Twice a year, spring and fall, pull everything out again. Move off-season coats, extra blankets, and holiday gear to secondary storage so the closet only holds what’s currently in rotation. Design pros recommend this seasonal cadence specifically because closets drift back into clutter within months without it.
- Every quarter, spend 10 to 15 minutes on a quick reset: rehang anything that fell, refold what’s slipped, and toss anything that snuck in that doesn’t belong.
- Assign one hook per household member so coats don’t pile onto a single overloaded peg, and keep bin labels facing outward where everyone can actually read them.
- Know when you’ve outgrown the system. If bins are overflowing again within weeks of a reset, or a modular tower is buckling under actual daily use, that’s the signal to consider a custom built-in instead of another round of bins.
When A Weekend Project Isn’t Enough
A modular system or a fresh set of bins solves most hall closets, and I’d never talk someone out of trying the cheap fix first. But some spaces fight you, an awkward angle, a door that won’t clear a standard rod, a household that has genuinely outgrown wire shelving twice already. That’s when a professional consultation earns its keep: a real measurement of your space, a 3D mockup showing exactly what fits, and an itemized quote instead of a vague estimate. You’ll know precisely what you’re paying for before anyone picks up a drill.
— Gary Pavitt
Ready For A Built-In That Never Needs Rebinning?
If you’ve tried the bins, swapped the hangers, and your hall closet still feels like it’s fighting you, the next step isn’t another trip to the container store, it’s a system built to your exact measurements. Some companies design projects in 3D, manufacture locally, and install with their own crew rather than subcontractors, often offering workmanship warranties.

That matters because a closet built to your closet’s actual dimensions, not a generic kit size, is the difference between hardware that fits and hardware you’re constantly working around. Pricing is transparent and itemized from the start: a Reach-In System starts at $700, while a full Custom Closet build starts at $3,000. If your hall closet is really a walk-in in disguise, the Walk-In Closet Design service covers that too. Book a free in-home consultation and get a real quote before you spend another weekend fighting a space that was never going to work with off-the-shelf parts.
Sources
The layout rules, rod heights, and pricing tiers in this guide draw from closet-industry cost and systems breakdowns and expert coat-closet organizing advice from design professionals. For readers weighing off-site seasonal storage alongside closet upgrades, Island Park Storage’s blog covers practical moving and storage tips worth a look.
- Hall Closet Organization: Complete Guide for Homeowners - D and G Flooring
- 7 Expert Tips for Coat Closet Organization | HGTV
- Coat closet organization for small spaces
FAQ
How do I organize my hallway closet?
Empty it completely, sort into keep/donate/relocate/trash piles, then pick one primary function for the space before buying any hardware. Measure the depth, width, and door swing, then install hooks, shelving, or a rod system sized to what you’re actually storing, and expect to remove 40 to 60 percent of the original contents along the way.
Is it cheaper to build or buy a closet system?
Buying a basic wire shelving kit is cheapest at $30 to $80, while modular melamine towers run $150 to $400 and premium modular setups reach $500 to $1,500 or more. A fully custom built-in typically starts around $2,500 and up, but it’s measured to your exact space rather than adjusted to fit a generic kit; Classy Closets’ Custom Closet service starts at $3,000.
What is a hallway closet called?
It’s most commonly called a coat closet or entryway closet, though the same space often doubles as a linen closet or a catchall utility closet depending on the household. There’s no single official term; it’s named for whatever job it actually performs.
In what order should I hang my clothes in my closet?
For a hall closet, hang daily-use coats and jackets at arm level on a long rod set around 66 to 70 inches high, since that height clears most coat lengths without dragging. If you’re double-hanging shorter items like folded pants or shirts, put a second rod near 42 inches and keep the original near 84 inches to maximize the same footprint.